
To create a new campaign: From the main campaign page, select the “+ EASY POLL” template button.

Enter a name/title for the newly created campaign, then complete the Campaign Settings.
Important Note: Configuring the Campaign Settings should be completed before creating snapshots. Changes to Campaign Settings while the campaign is live is not recommended.

Authentication
This setting will allow users to turn on the log in page on the poll. If email is to set to ON, users will be required to complete a form before voting. The form fields are configurable and can be set by selecting the pencil icon next to ‘Authentication’.
Important Note: Once you have pushed a snapshot live, you cannot edit the Authentication toggle settings (e.g., if you went live with the authentication toggled on, then the Easy Poll will have a login throughout the campaign). Please ensure that this setting is set prior to pushing your first snapshot live.
No Snapshot Live Page
This is what a user would see on the page if no snapshot is live
To style this page, click on the pencil icon next to “No Snapshot Live”. Actions on this page include: styling the background, adding photo or video, customizing the page message, and adding text links as well as footer text and links.
Out of Geo
This is where the geographic restrictions can be set. You can choose to include or exclude specific countries. If the geo limits are on, the edit icon allows you to style the Out of Geo page. Content will be blocked for visitors outside of the selected region(s) and they will be served the Out of Geo page.
To style the Out of Geo page, click on the pencil icon next to “Out of Geo”. Actions on this page include: styling the background, adding photo or video, customizing the Out of Geo message, and adding text links as well as footer text and links.
Cookies Banner
The Cookies Banner is utilized to inform users that the site uses cookies to deliver content and to provide personalized features.
Page Info
This is where the page tab name and favicon can be set. Favicon image must be a 32x32px PNG file.
- Enter the page tab name in the “Add Page Title” field.
- Click on “Upload Favicon” to add the icon image/graphic
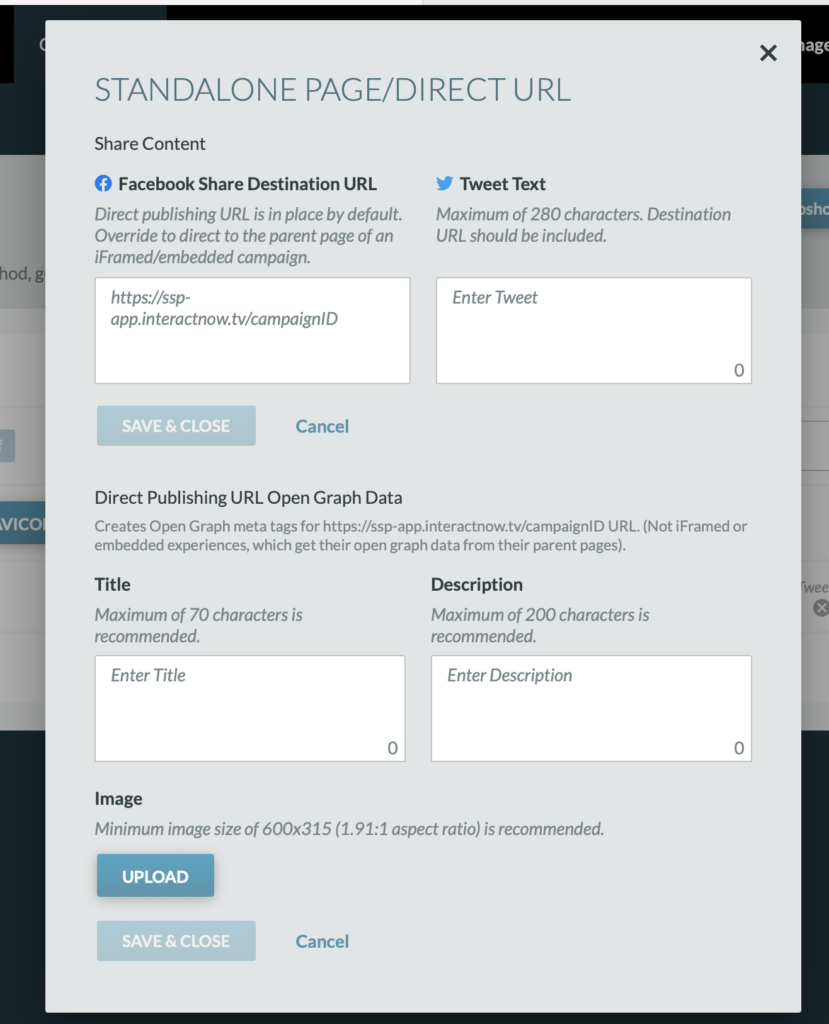
Social Sharing Content
This is where the Facebook and Twitter sharing info is set using Open Graph tags on the page. Click “Edit Content” to add a title, description, and image to the metadata. The pre-populated Twitter message is also set in this editor.
Official Rules
For the Official Rules, a URL can be entered, a PDF can be uploaded, or text can be entered in the editor. If uploading or using the editor, a URL will be generated to access the information.
Terms & Conditions
For the Terms and Conditions, a URL can be entered, a PDF can be uploaded, or text can be entered in the editor. If uploading or using the editor, a URL will be generated to access the information.
Important Note: If uploading a PDF or using the editor, each time a PDF is uploaded or a change is made to the editor, a NEW URL link will be generated.
Google Analytics
To track your campaign analytics, please create a Google Analytics ID and enter the ID into the “Add Tracking ID” field.